As I recently experimented in fitting Power Functions (PF) inside the 7740 Inter-City Passenger Train locomotive, I got to thinking about the optimal lighting setup there – and how PF lighting compared with the original 12V lighting of the train.
Below are three different light setups, positioned behind a red 1×6 electric train light prism holder with transparent light prisms and round transparent yellow plates on top, just as the setup was in the 7740 Inter-City Passenger Train of 1980.
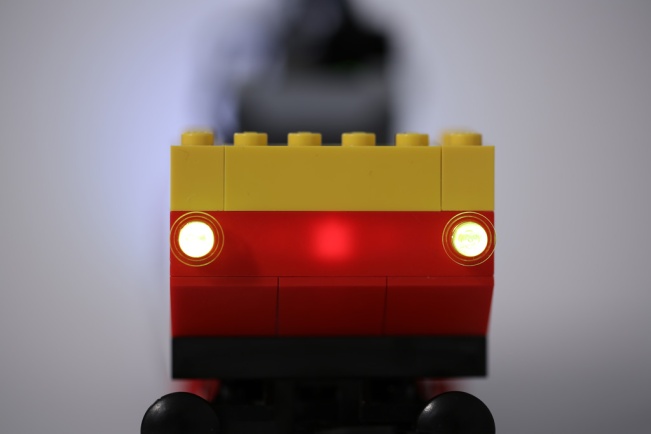
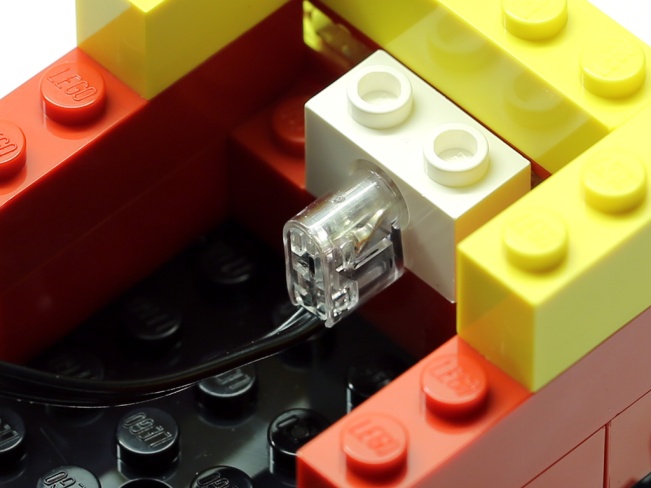
First a single Power Functions light, connected to a 1×2 Technic brick with hole, behind the same train light prism holder, set at full brightness (this was the setup I used in my crudely modded PF version of the locomotive, you can also see from the background halo in the picture, how the other light on the PF cable is lighting the rear of the train):
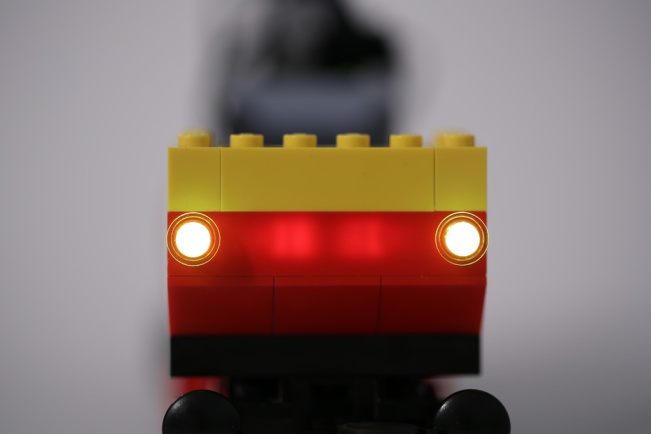
Second are both Power Functions lights moved to front (each PF light cable has two separate lights), connected to a 1×2 Technic brick with two holes, in a comparable setup (you can see how the background halo is missing, as both lights are now pointing towards the camera):
Third is a 12V light brick, the original setup, although connected straight to a 1980 LEGO Trains 12V Transformer (originally the power to the lights went through the train motor instead, which I don’t yet have) and run on full steam – it blasts right through all the bricks, the photo exaggerates things just a little, but not much:
As you can see, the PF lights are prone to some circular hot-spotting seeping through thin red plastic. The bulls-eye effect is somewhat remedied by using two PF lights instead of one, so that the lights leakage at least spreads a little more evenly. The best solution, though, would be to insulate the light prism holder. The 12V light is, surprisingly, the brightest of all and suffers not only from light leaking through the front, but also downwards through its transparent bottom – it is, though, a rectangular light pattern which I find less troubling than the circles produced by the PF lights.
Here are the light setups from another angle.
Single PF light:
Dual PF lights:
12V light brick:
Just out of curiosity, I popped the prisms out (the Technic stud on the 630 Brick Separator is good for pushing the prisms out cleanly), added some kitchen tin-foil in there and put the prisms back. When applying the tin-foil, you may want to use a folded, double layer for strength. Make the piece an oversized one, tuck it in with the flat head of the 630 Brick Separator, before inserting the prisms. Finally, push the prisms in place so that only the tin-foil over the light holes breaks through and remove excess tin-foil. If the tin-foil rips inside the holder, retry with new tin-foil.
Here is the light prism holder before excess tin-foil has been removed. I eventually left as much on the sides as possible, to avoid light leaking through the sides of the brick.
Here are the tin-foiled results (full power/brightness).
Single PF light:
Dual PF lights:
12V light brick:
Clearly the tin-foil works, as long as it is snugly in the path of the light. The best brightness is achieved with the original 12V light, although all options produce very sufficient results. Dual PF lights is the most balanced option, as it has good brightness without the downwards light leakage, which the 12V light still manifests even after tin-foiling the light prism holder. To really get rid of light leakage with the 12V light brick, you’d need to insulate even more. It is possible that with a 12V motor attached the brightness of the 12V lights is affected and things even out – I wouldn’t be surprised if they are ran at a far lower voltage. So far, 12V is quite the torch, though.


3 Responses to 12V lights vs. PF lights (vs. tin-foil)
[…] an earlier story I used kitchen tin-foil (or aluminium) to fix light-leaking LEGO Trains light prism holders. Now […]
[…] had to do with how the 12V lighting would operate when the 12V motor is connected in the middle. I previously noted that 12V lighting in the locomotive, connected directly to the 12V Transformer, resulted in some […]
Thanks for the information I am just about to put pf lights in my 7740. I am leaning towards using one led in front and back, dont u like it better to have lights in bott directions?